


A home apothecary is a must for anyone who uses natural health remedies. This video goes through some of the reasons why you would want to start a home apothecary and offers ideas about storing and organizing your remedies and supplies.
This is not medicine making guide and it’s tailored to the family herbalist.
Listed below are the major takeaways from the video. However, I highly recommend viewing the video for all of the information. Thanks for watching!
If you enjoyed this video, please like and share it to help spread the word about this publication. Thank you!
Key Points from the Video:
The Basics
Apothecary = natural medicine cabinet filled with herbal remedies
Build your apothecary slowly, one herb at a time.
You don’t need a lot of herbs to have a functioning apothecary. The majority of herbs provide more than one benefit. An example is lemon balm - it’s great for the digestive, immune, and nervous systems.
Many herbs are great for internal AND external issues
Things to Consider
Why do you want an apothecary? What are your goals for it?
It takes time, planning, and commitment to make your own remedies and to build up your apothecary.
Start with herbs growing around you or those you can grow yourself. Don’t forget some “weeds” are medicinal too.
Use herbs you are familiar with and learn about their function within your body system (or that of your household members).
High-quality herbs grown without chemicals provide the best medicine - support your local growers if you don’t grow your own.
Wildcrafting might be an option but educate yourself on at-risk plants.
Do your research and know where your herbs come from.
The apothecary is ever-evolving and expanding as you identify which herbs you prefer and what remedies you want available.
Advantages of having a home apothecary:
Customizable - It’s unique and customized for your wants and needs
Accessibility - No running to the store at all hours of the day
Cost-effective - By growing and harvesting your own medicine you will save money
How do you know when it is complete? When do you have enough remedies?
Keep track of the herbs you utilize, and what is “expiring.” Modify from your observations and experiences.
It’s all about balance because you don’t want to waste your herbal remedies. Plus, you want to have a variety of herbs available for different situations and health concerns.
An apothecary is never complete because we are always learning, adjusting our preferences, and investigating different herbs.
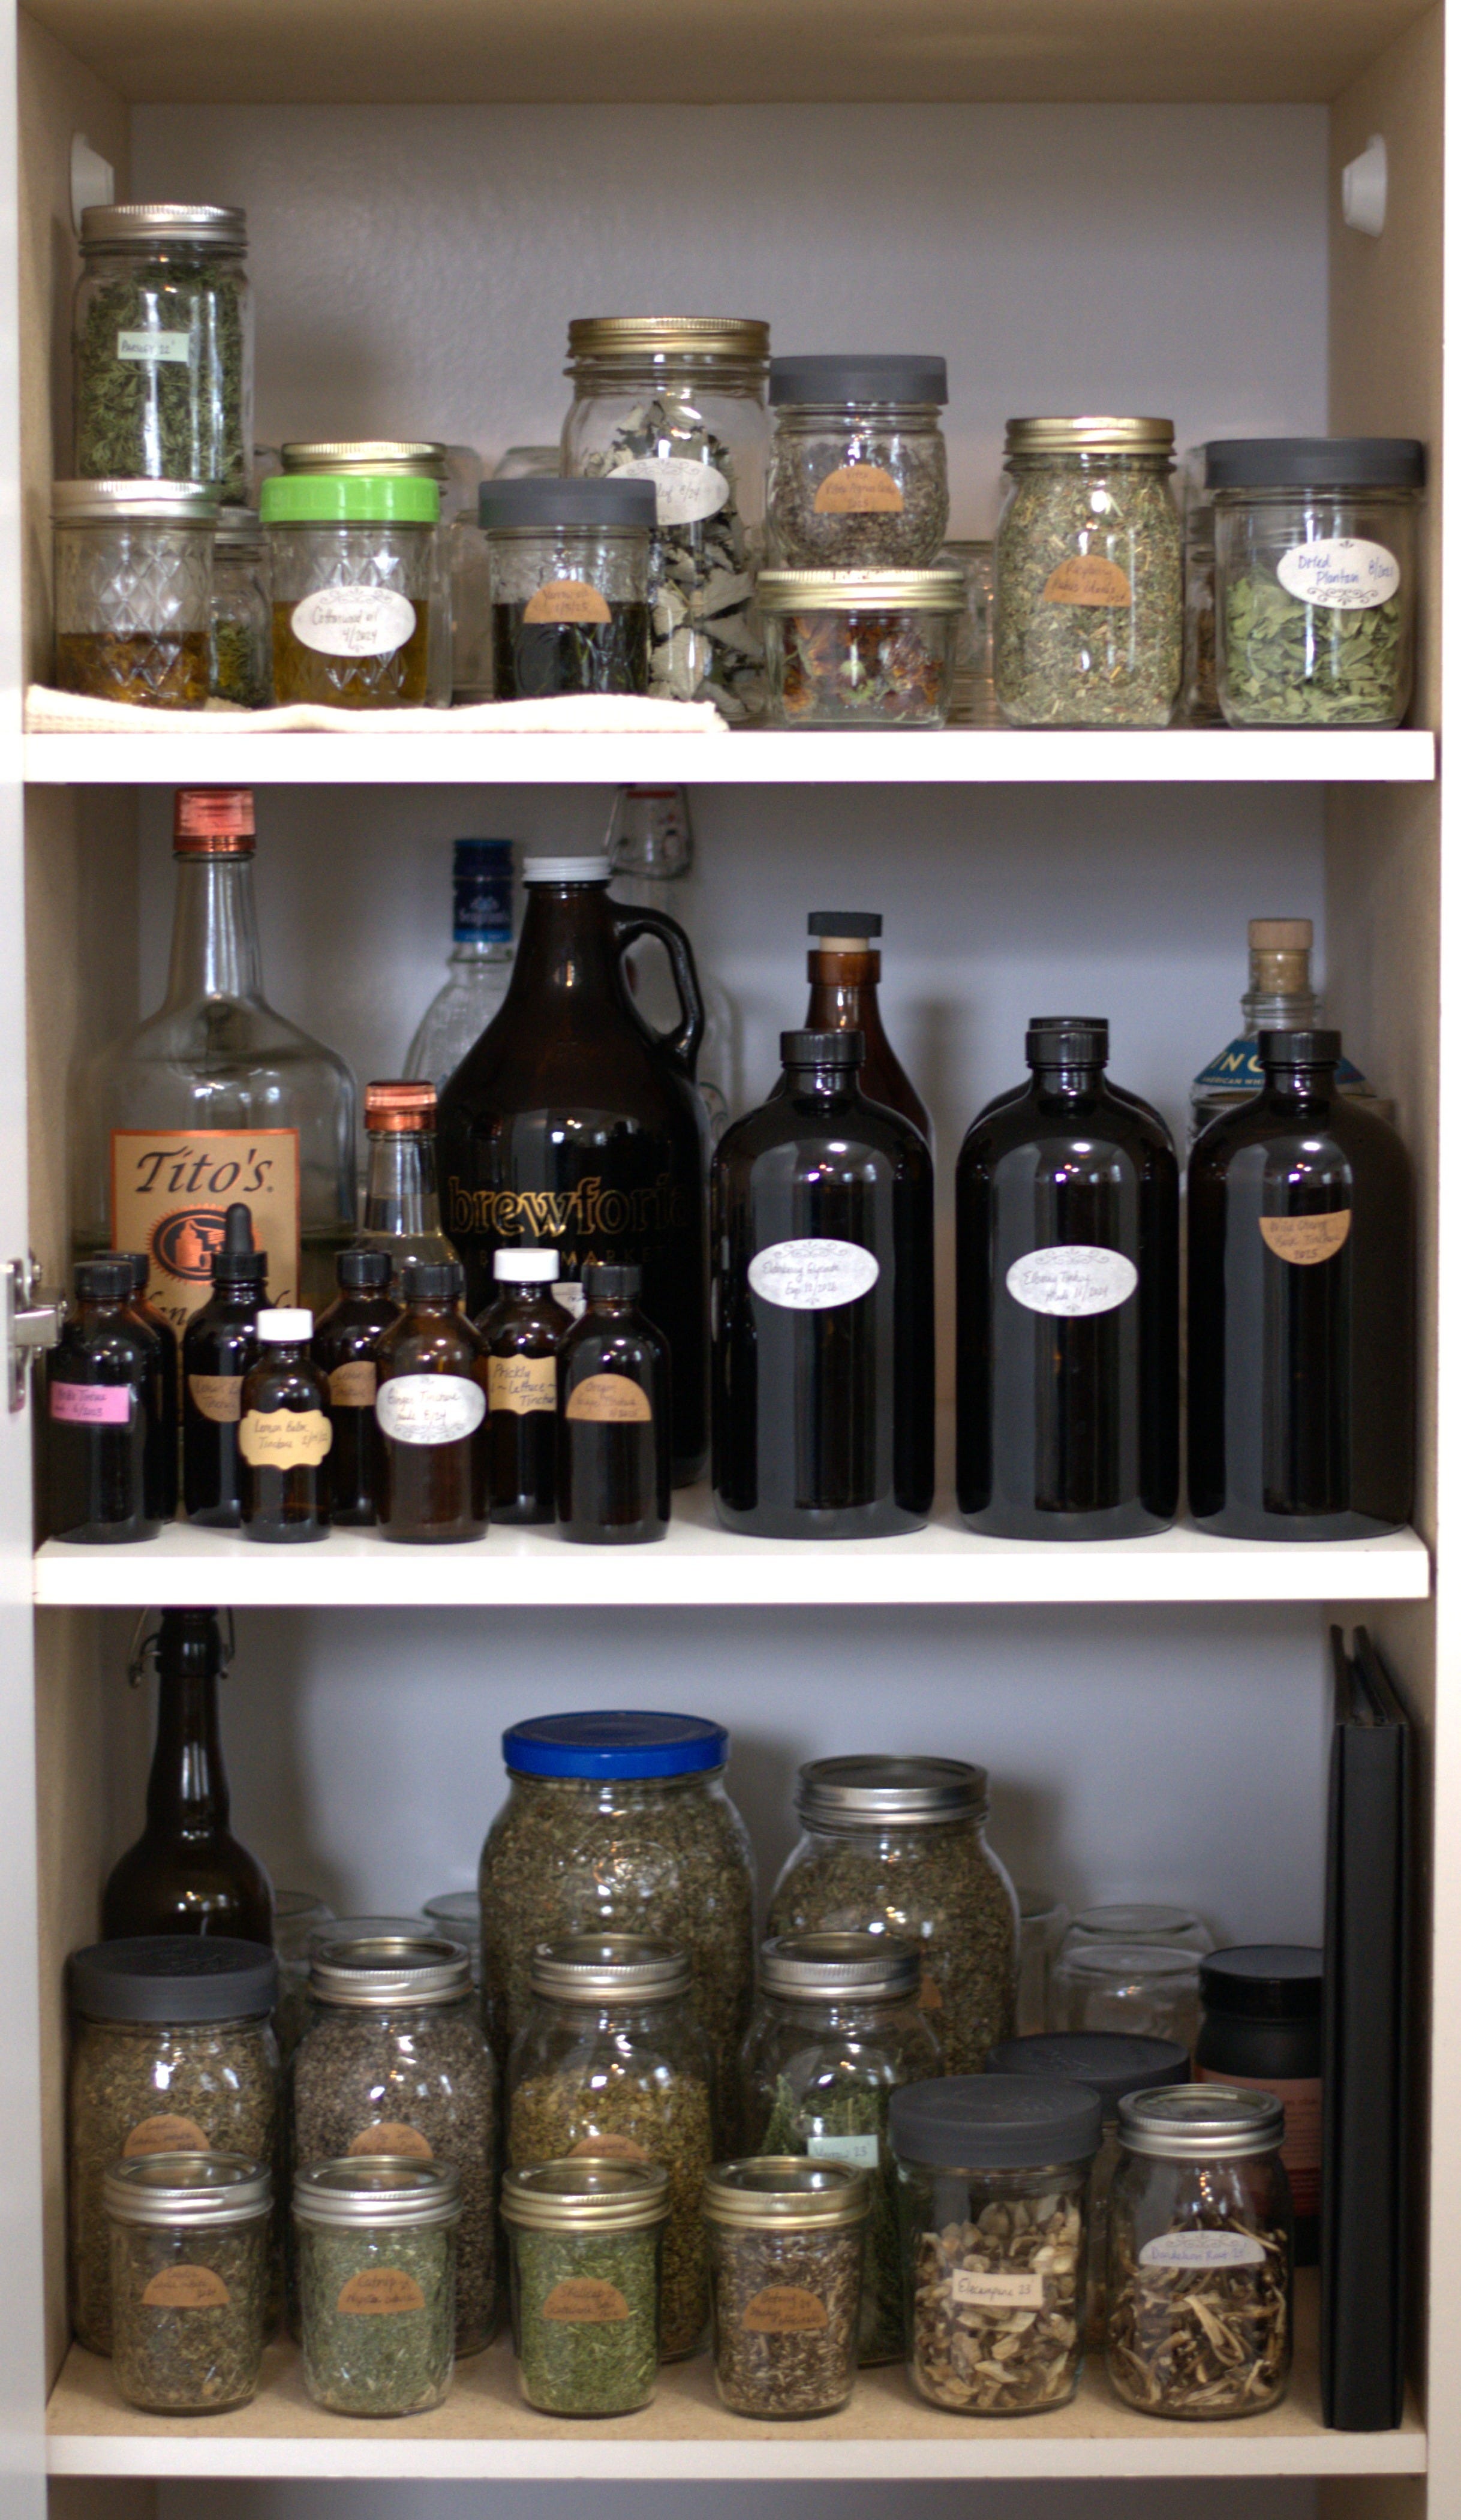
The Apothecary
The Best Place to Store Your Herbal Remedies
Store away from light, heat, moisture, and air to retain medicinal qualities
The ideal storage temperature is less than 50-70 degrees Fahrenheit
A cabinet with doors works well to block out light. Alternatives are closets with doors or curtains.
Best Storage Containers
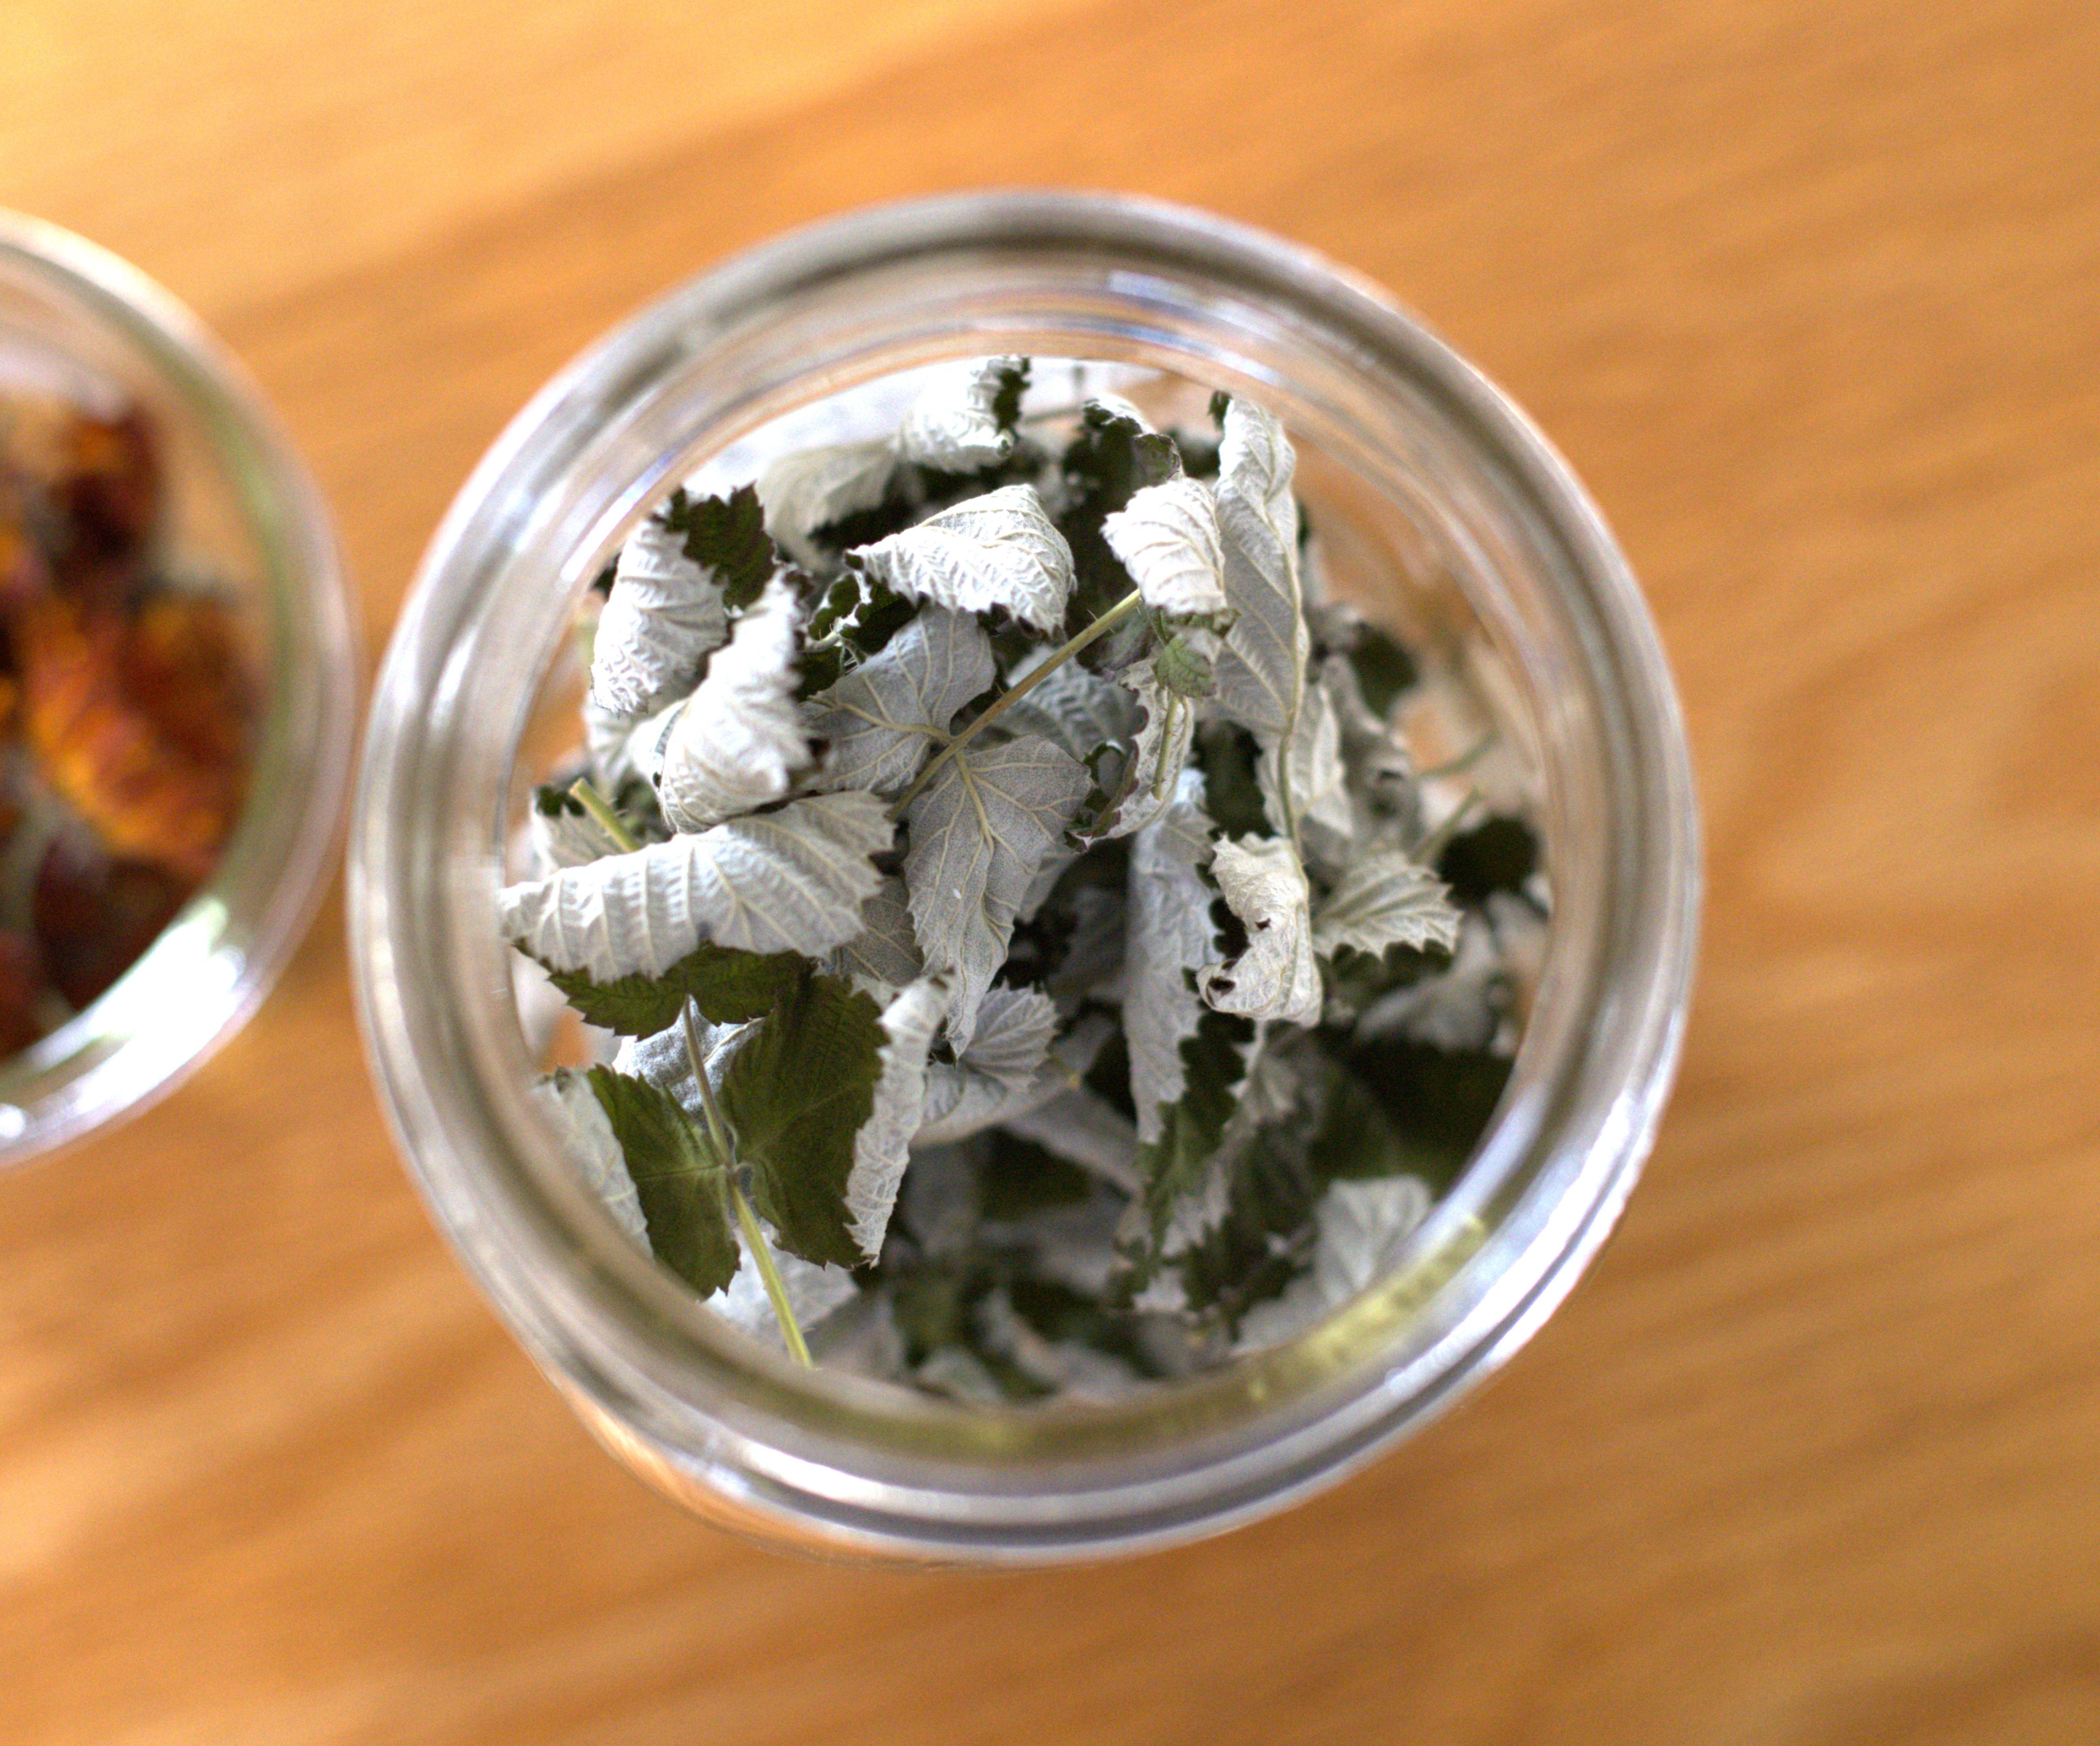
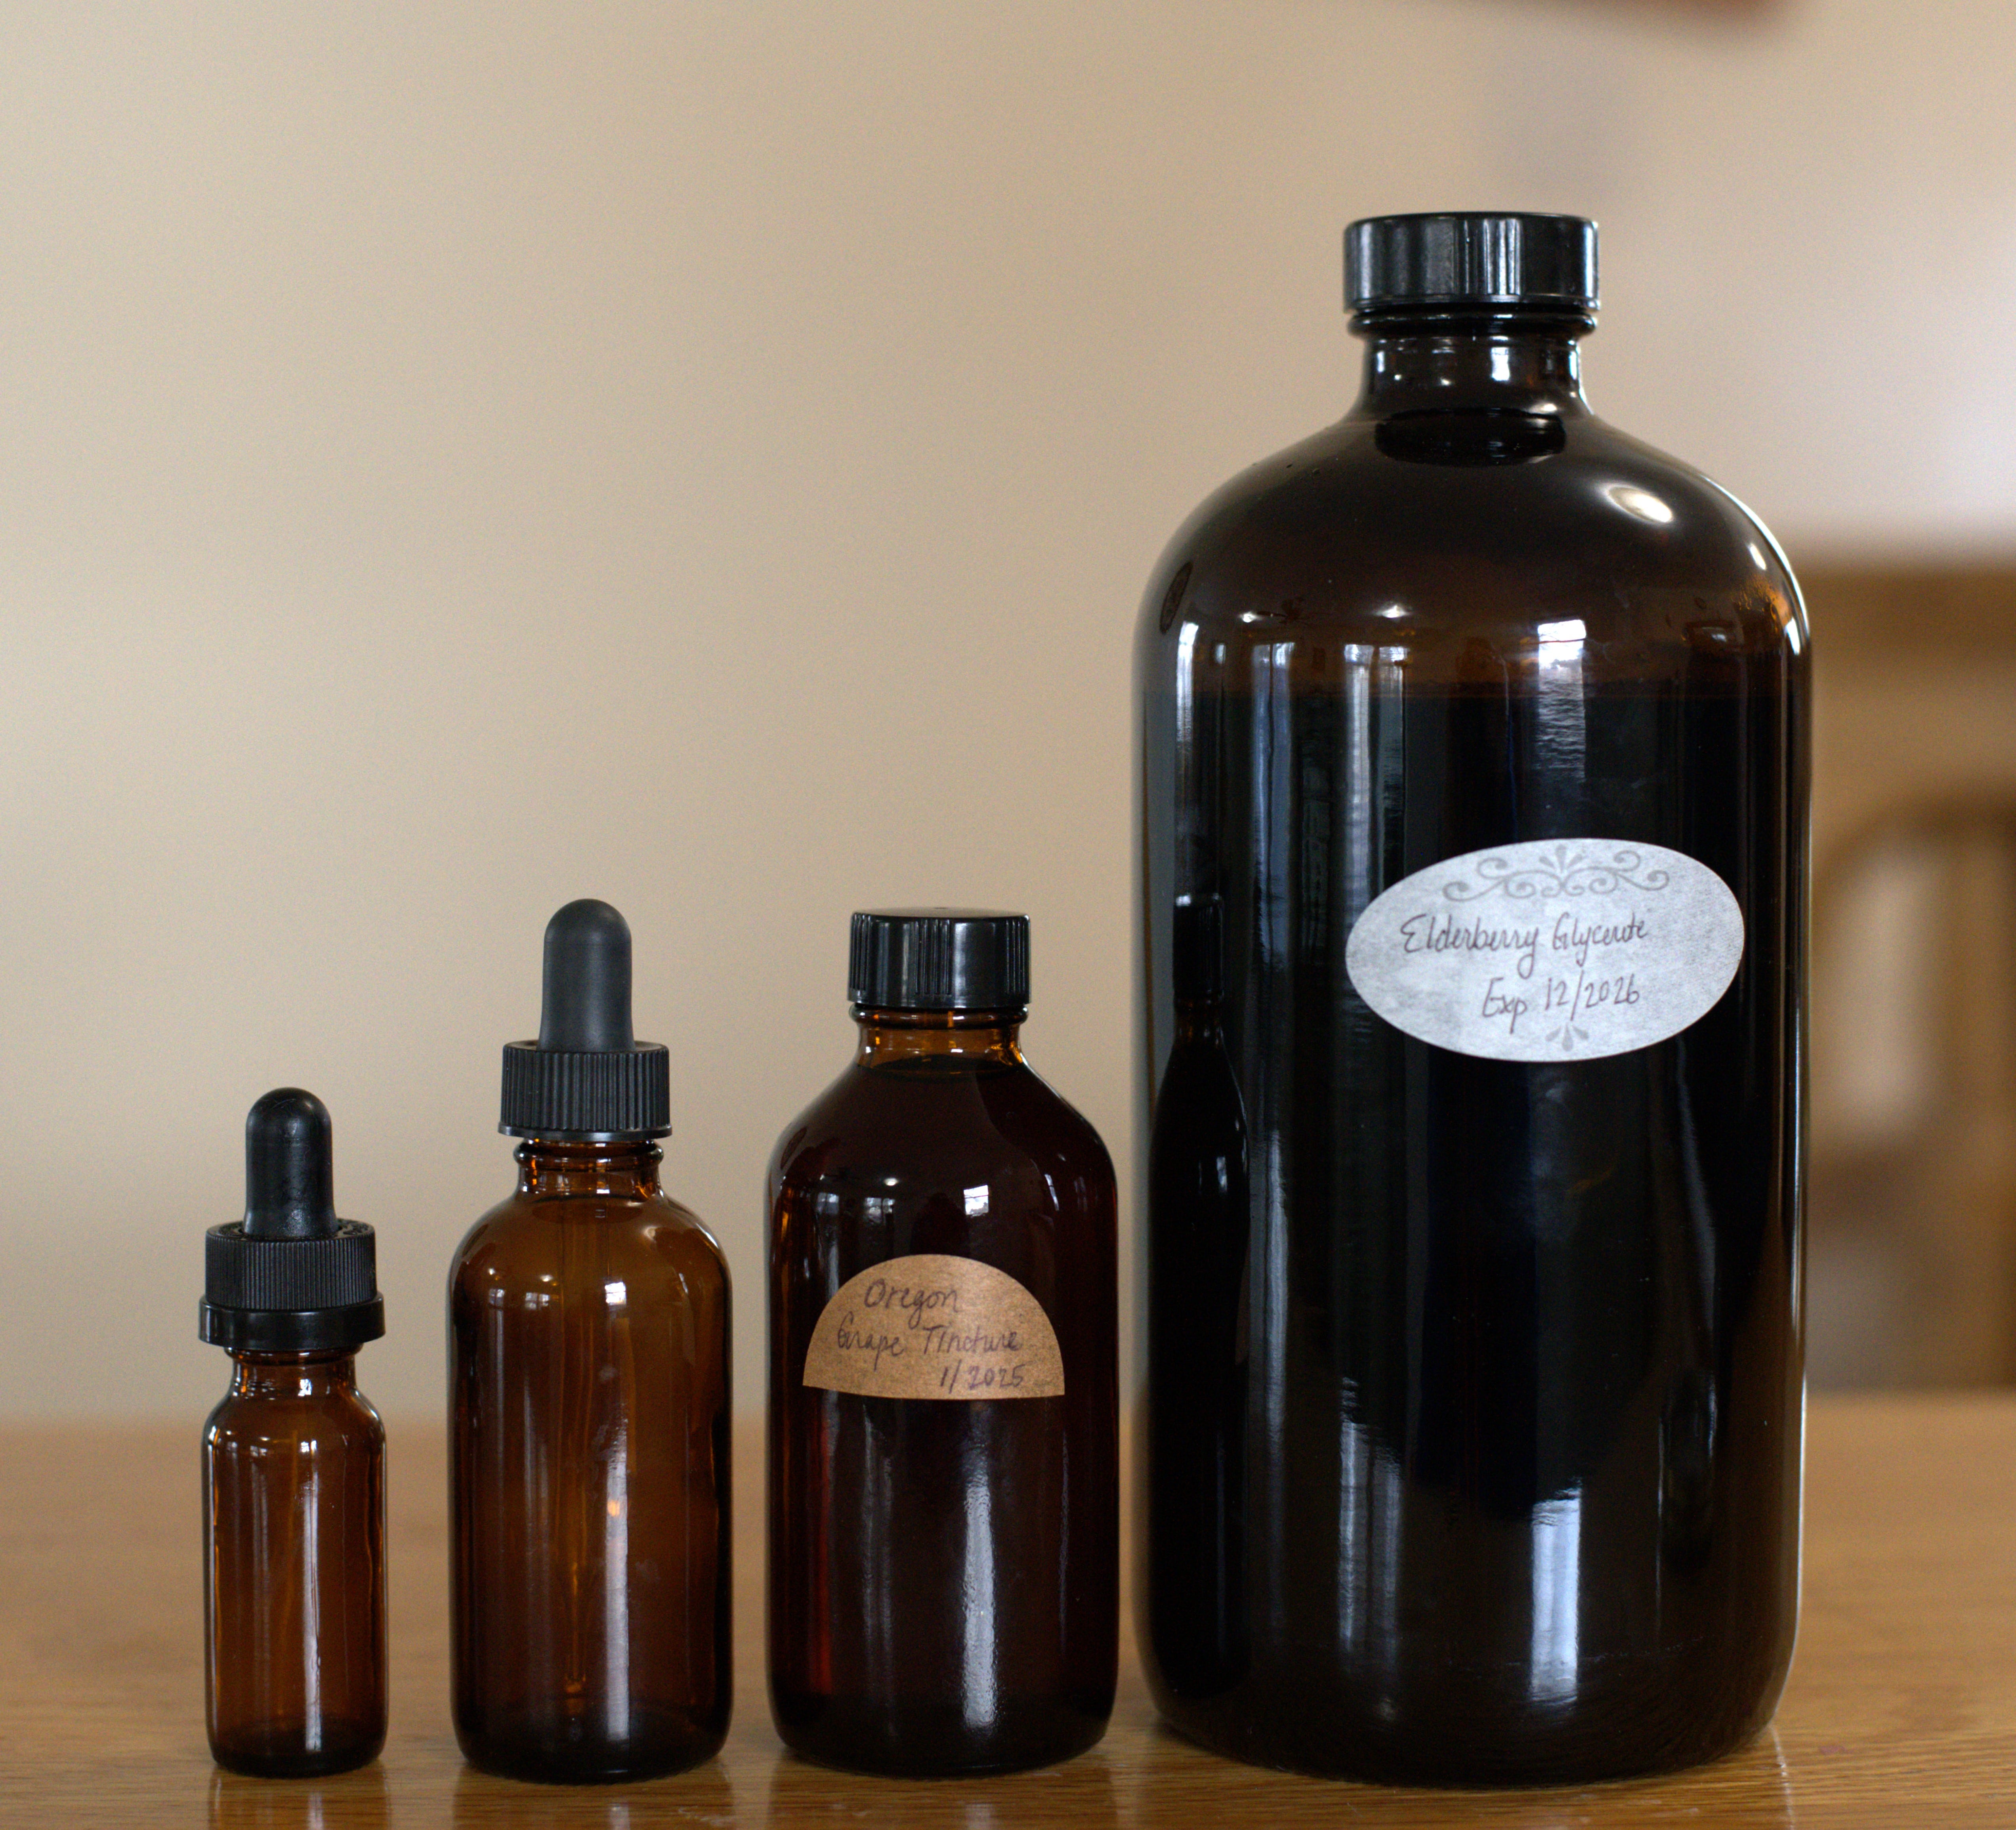
Glass is best for dried herbs - amber glass is even better
Canning lids with rings or any lid that does not have cardboard
Plastic bags leach chemicals into your herbs and are not recommended for long-term storage
Amber bottles for liquids
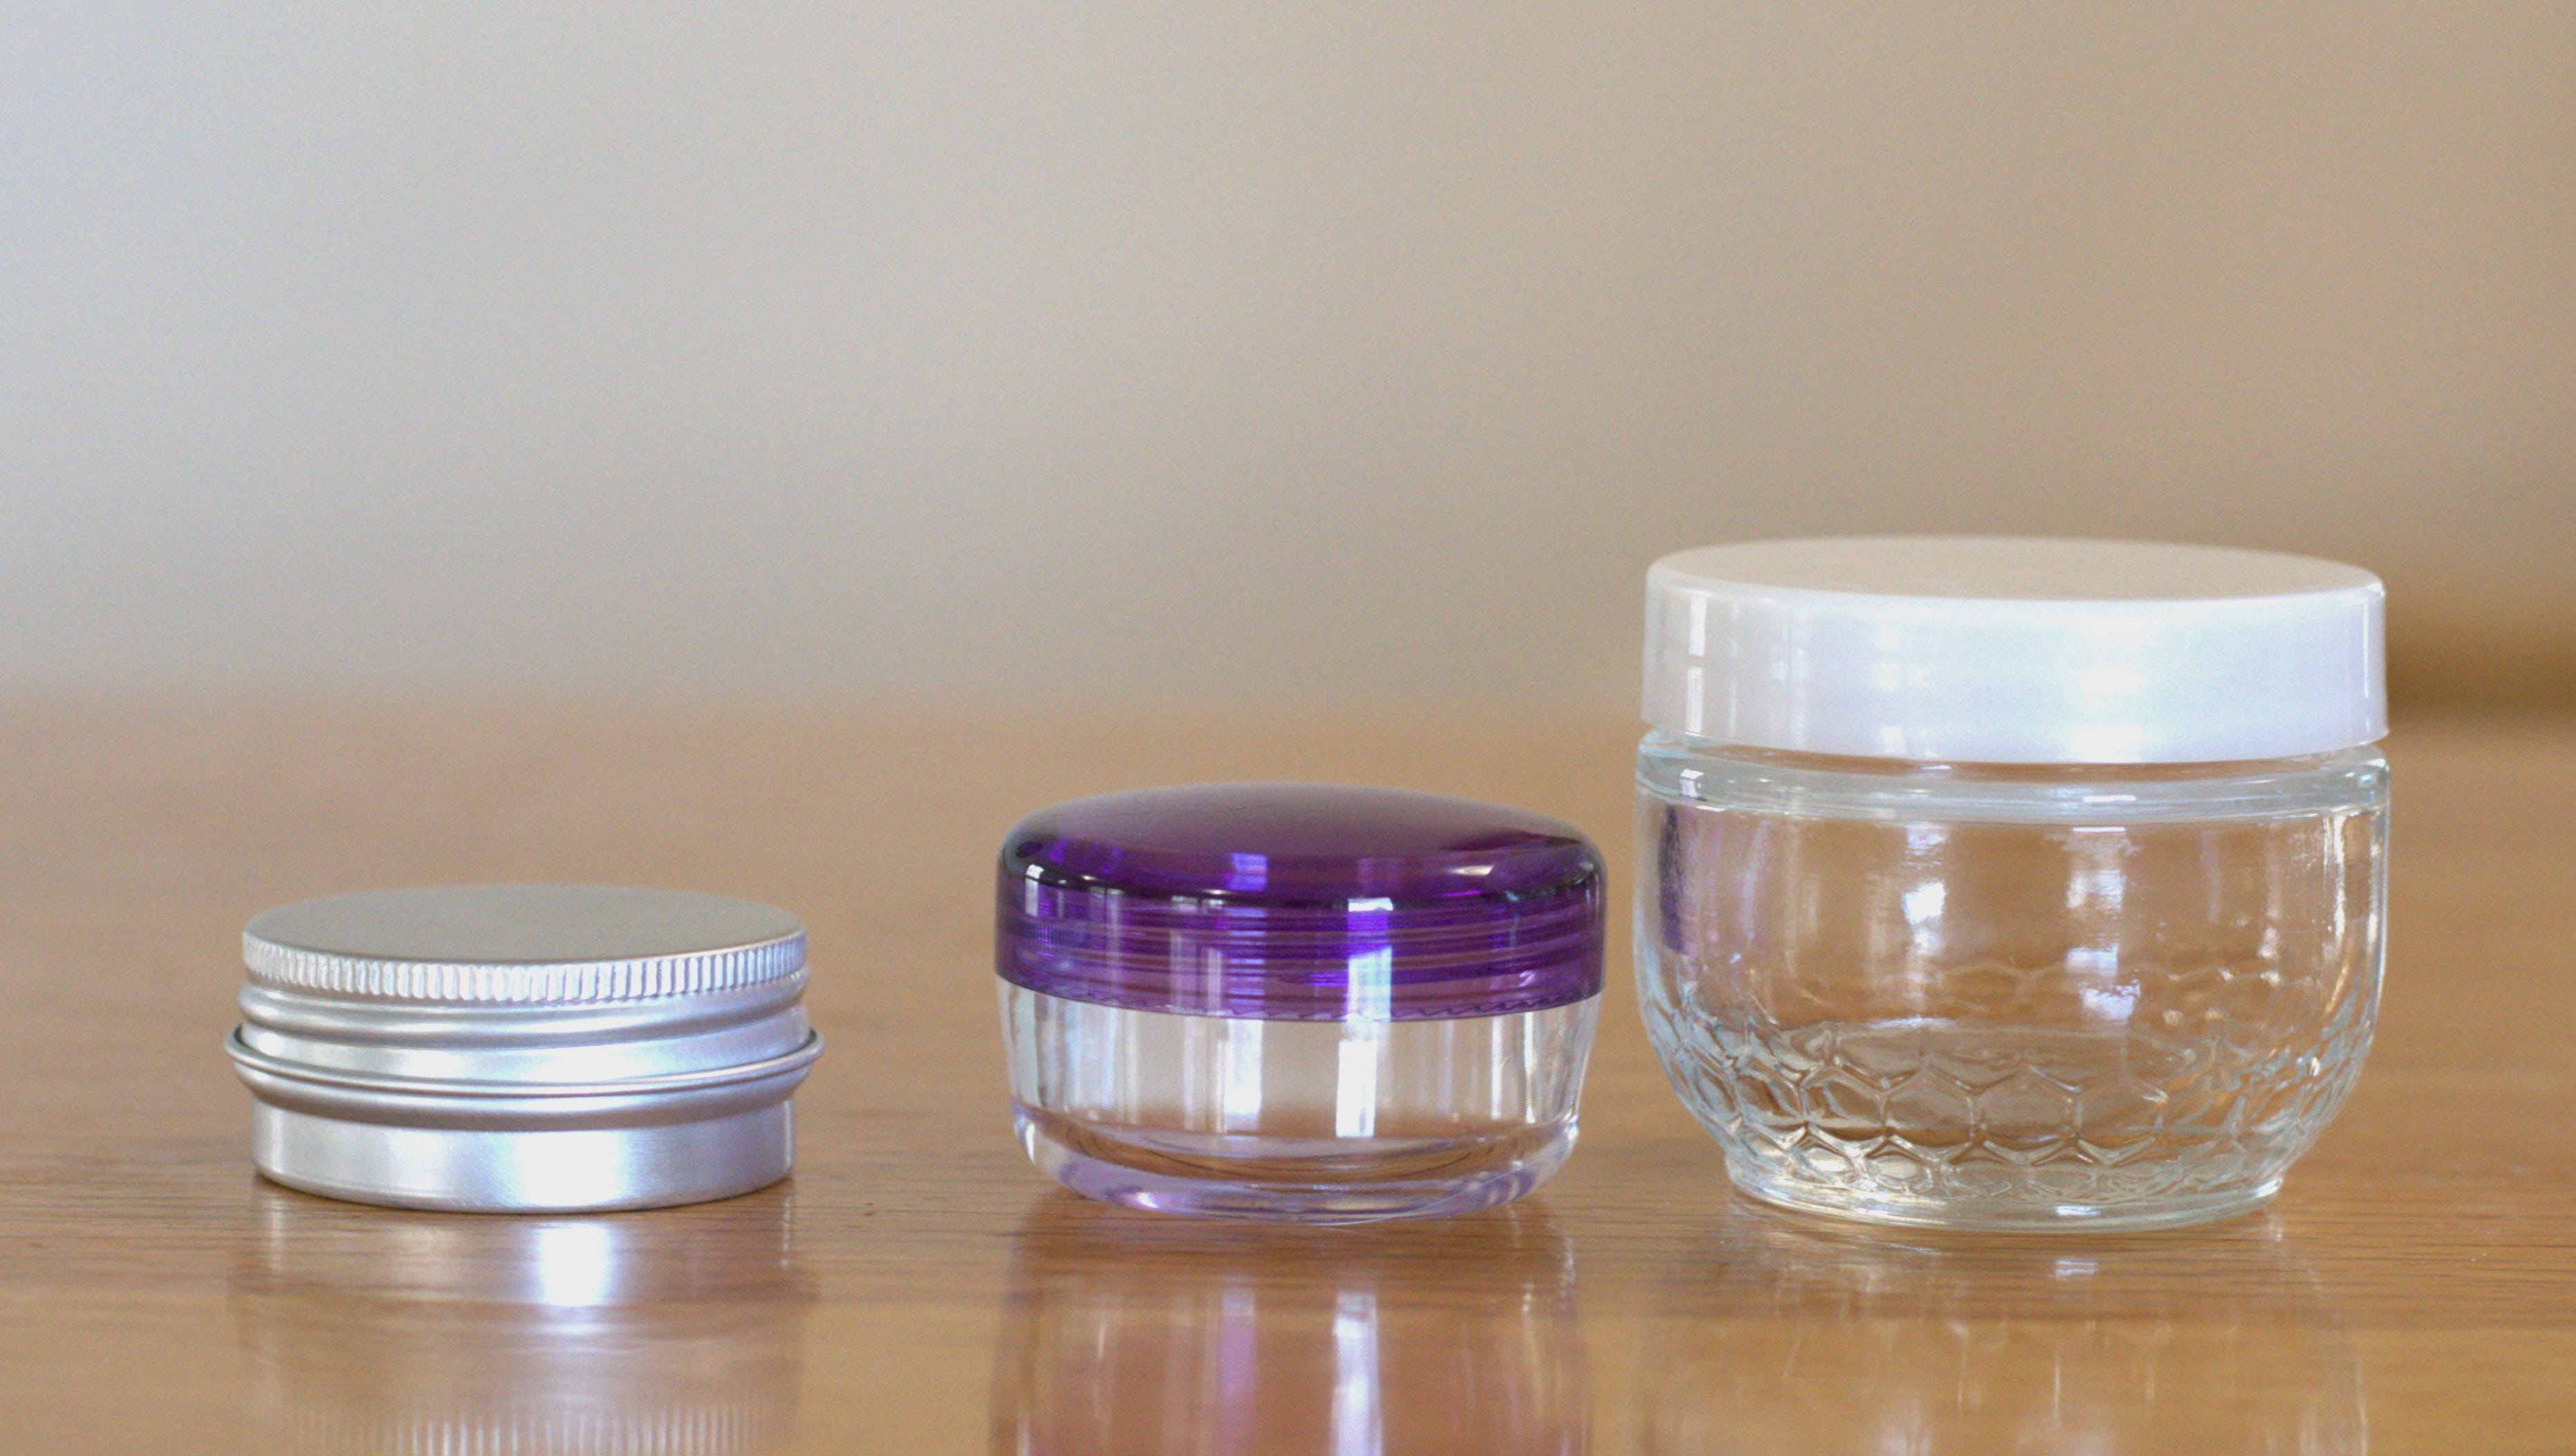
Aluminum or glass containers for salves and lotions
Shelf Life
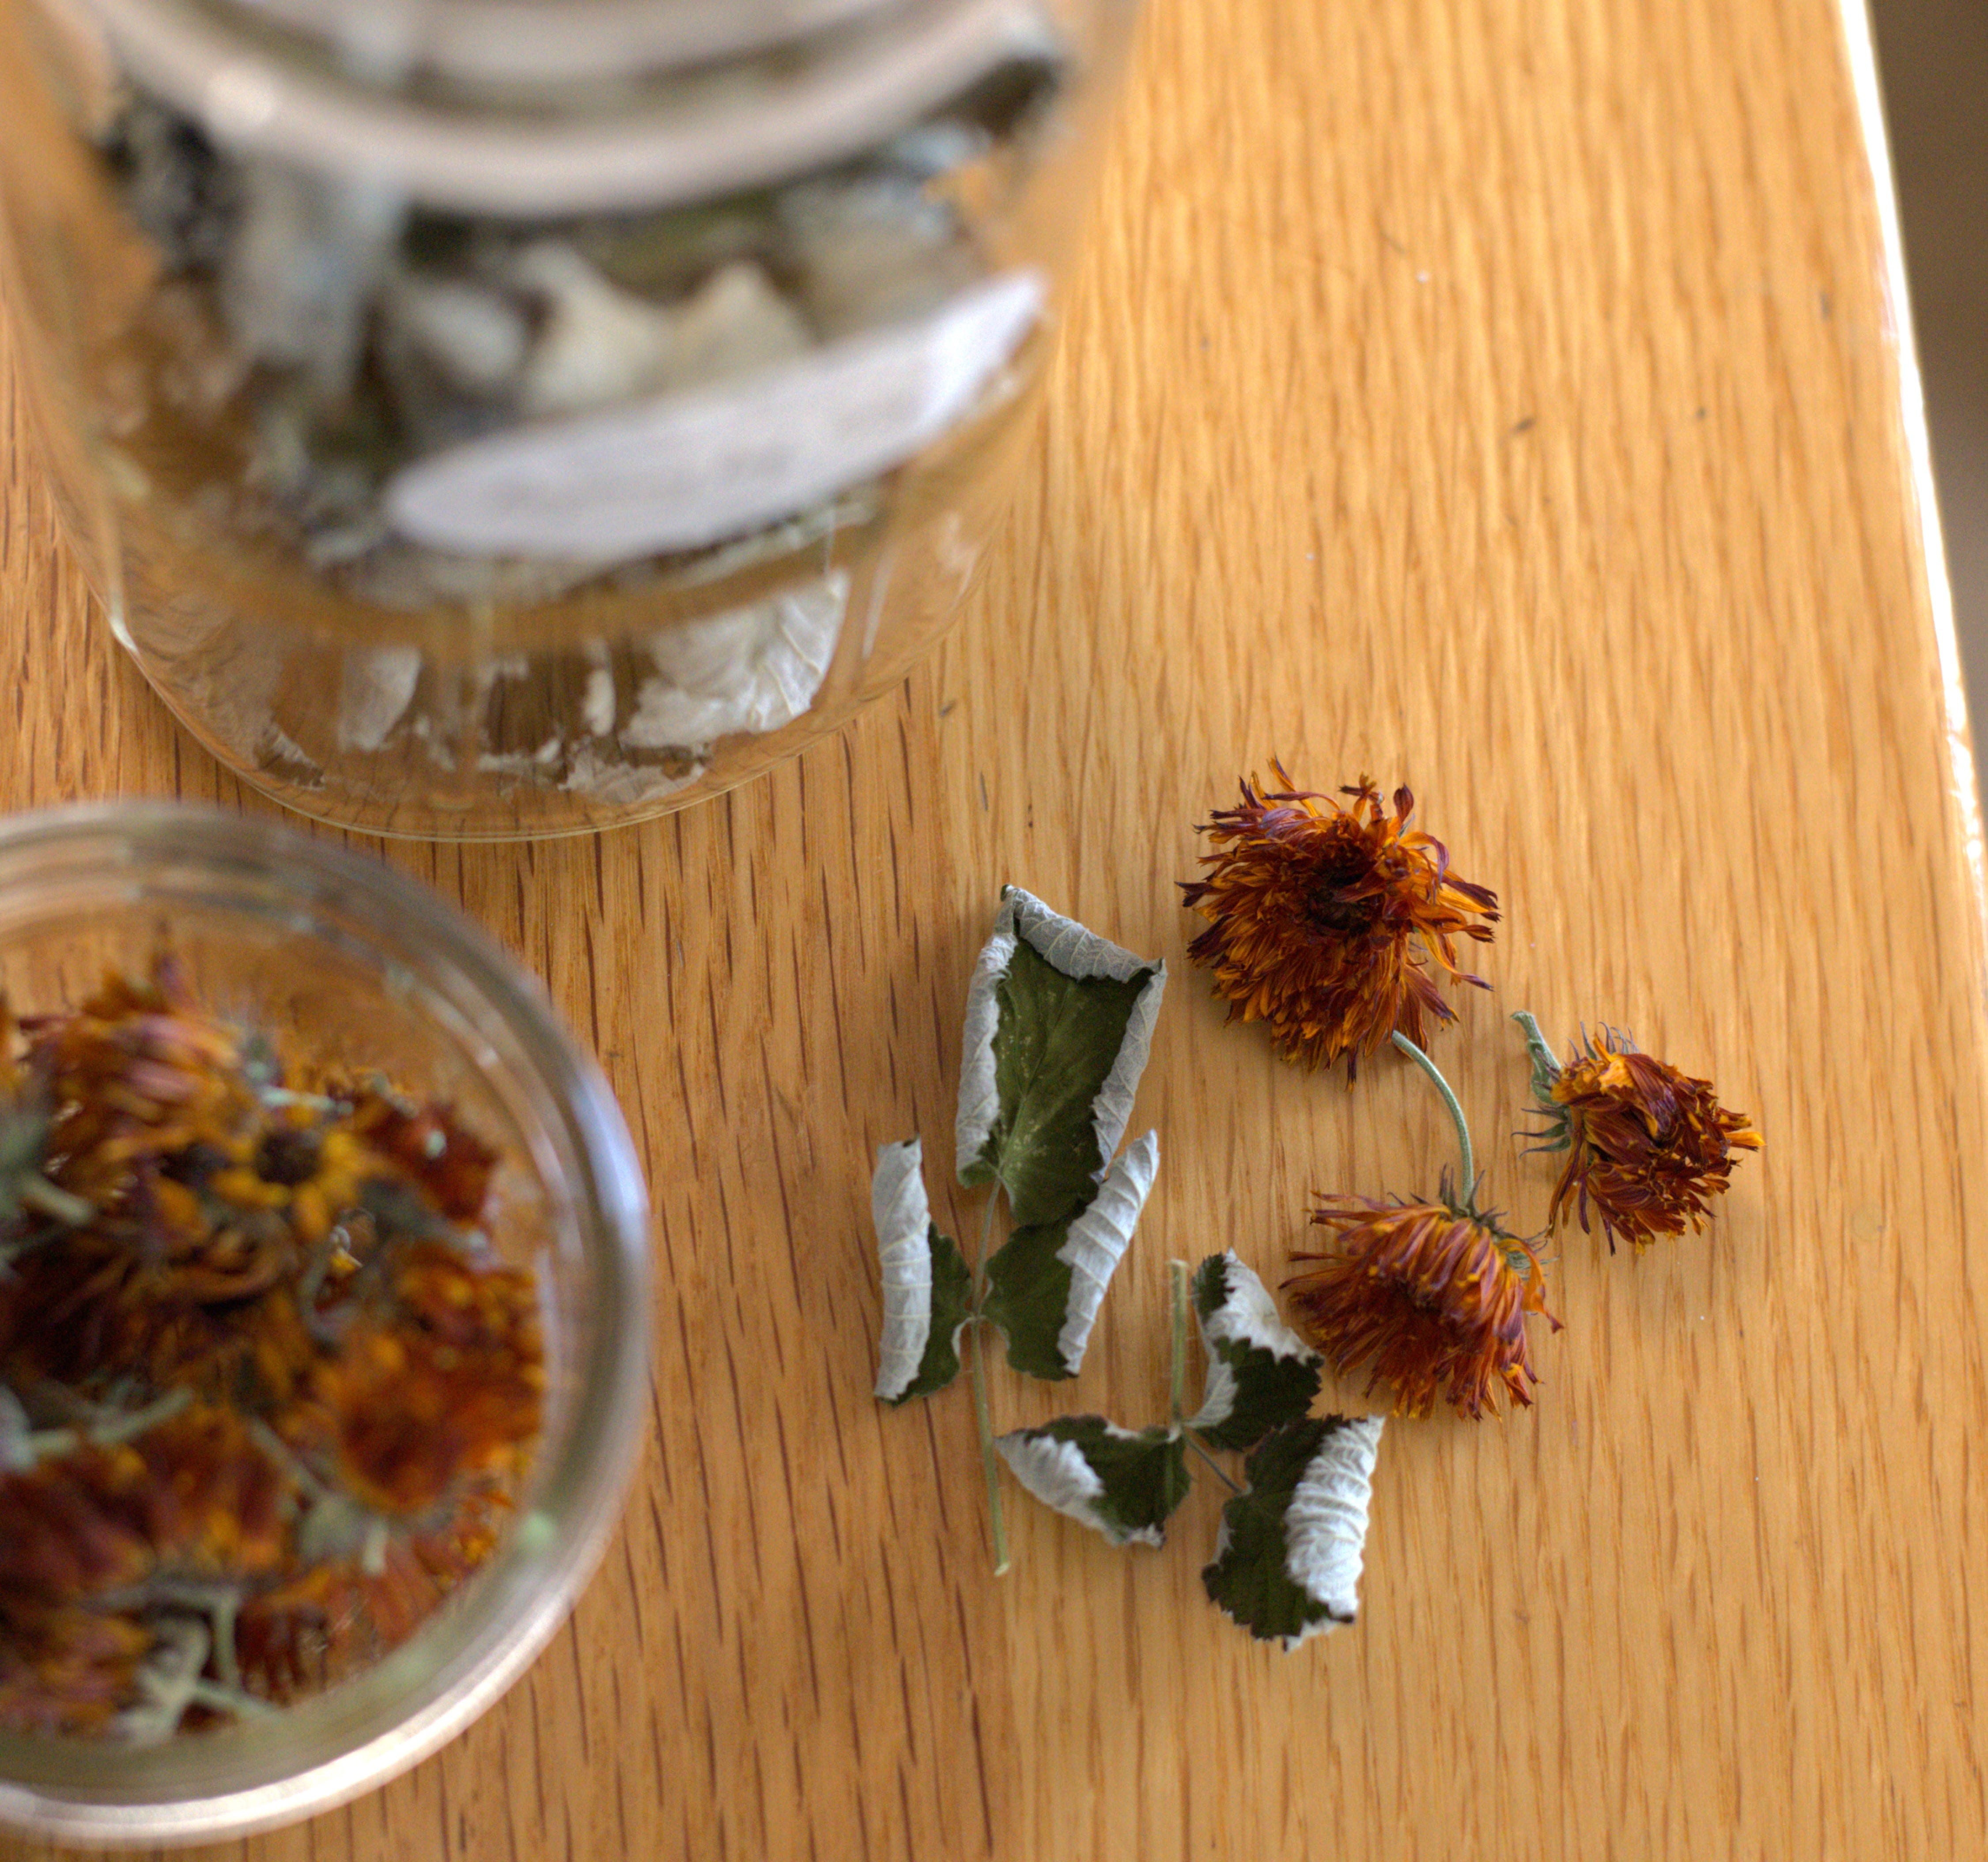
Determine the quality of dried herbs by scent, color, taste, and effectiveness. If they don’t pass the quality test, then it’s time to compost them.
Dried aerial parts last 1-2 years - keep in mind some tender herbs such as lemon balm and chickweed, for example, do not store this long.
Dried roots 2-3 years
Alcohol tinctures indefinitely (if no water is added) though medicinal qualities will decline over time.
Glycerites up to 2 years (if no bacteria introduced). Some prefer to refrigerate glycerites.
Whole dried leaves & flowers last longer than ones that are crushed
Herbal oils - follow the expiration date on the oil or discard if it becomes rancid
Common Supplies:
Again, keep it simple. What supplies you have will also depend upon what type of remedies you make. Save bottles and containers to reuse and request bottles and jars be returned to you (if it’s family and friends).
Mason jars & lids in multiple sizes
Amber bottles in multiple sizes
Labels - or use paper and tape
Funnel
Measuring cups
Kitchen scale
Tins or small glass cosmetic jars
Sharpie & Pens
Monographs, notes, and recipes of herbs in your apothecary
Other helpful tips:
Label everything with the name, scientific name, and date made or purchased
Don’t store above the kitchen stove
Some dried herbs are delicate and lose their potency faster than others
Don’t crush your dried herbs for storage, crush them when ready to use
How herbs are processed affects their quality and shelf life. Buy from reputable local herbalists or learn how to dry/make your own
Resources:
Oshala Farms in Oregon is a family-owned business. They are certified organic and offer a variety of herbal products.
Mountain Rose Herbs is a larger company, but they have impeccable standards. I order my organic glycerin from them.
If planning to wildcraft, check United Plant Savers first and know which plants in your area are on the watch list.
Glass bottle outlet offers a large variety of bottles at affordable prices.
You can’t go wrong with Strictly Medicinal Seeds if you grow your herbs! The business is located in Oregon and the products are certified organic.
Earthbeat seeds is another option. Or try to find a local business offering organic seeds - here in Idaho we have Snake River Seeds.

Do you have anything you want to add or any insights from your experience? Maybe you want to share a photo of your apothecary? Or perhaps you have a question? Leave a comment below ⬇

Share this post